Digital Nail Polish Color Chart: Help Clients Choose Faster
How to build a digital nail polish color chart for salons: organize shades by brand and number, photograph them well and let clients try colors on their hand.
Published 8 min read
In short
- A nail polish color chart for salons works best as a searchable digital catalog (brand, collection, number, finish) next to your physical swatches, not instead of them.
- Photograph each shade on a painted nail tip and name it the way clients say it: in the app, clients see only the photo and the name.
- Deactivate discontinued shades instead of deleting them, and let clients try colors on their own hand through your salon QR.
- 1. The 15-minute color decision
- 2. Physical swatches vs a digital color chart: keep both
- 3. How to structure a nail polish color chart for salons
- 4. Photograph shades on a nail tip, then bulk add a whole brand
- 5. What clients see: photo and name, featured shades first
- 6. Retire old shades without deleting them
- 7. Let clients try a color on their own hand
- 8. Where to show the QR, and why printed codes need renewing every 30 days
- 9. Set a fair AI limit per client and watch usage
- 10. A one-afternoon setup plan
The 15-minute color decision
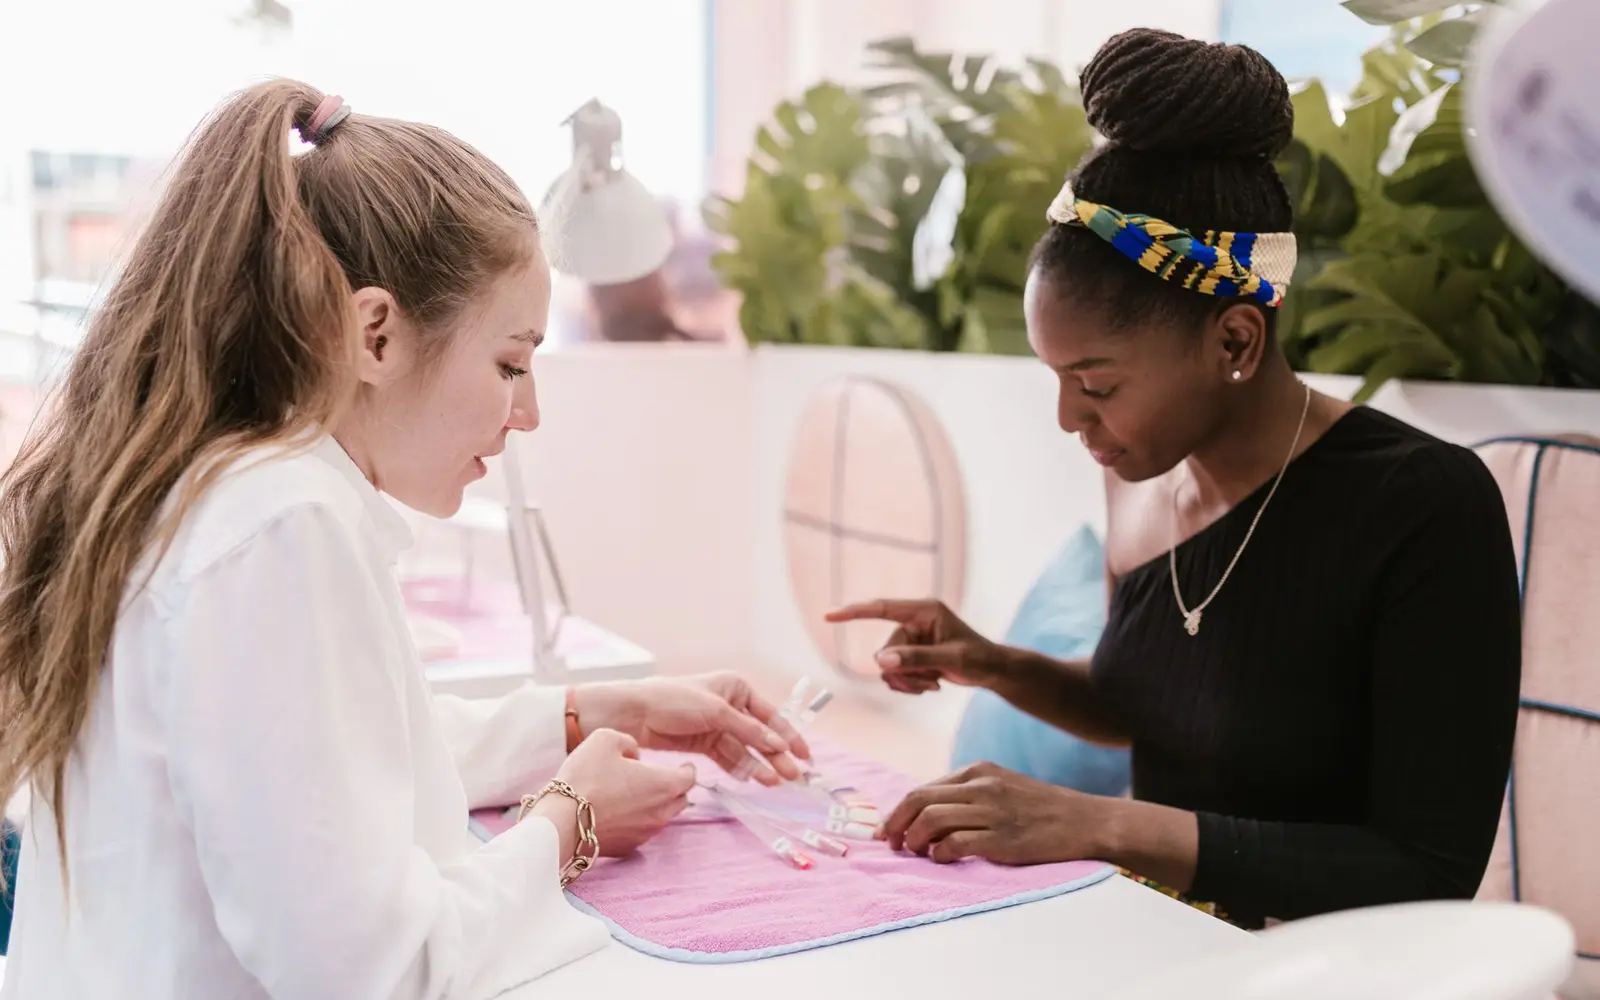
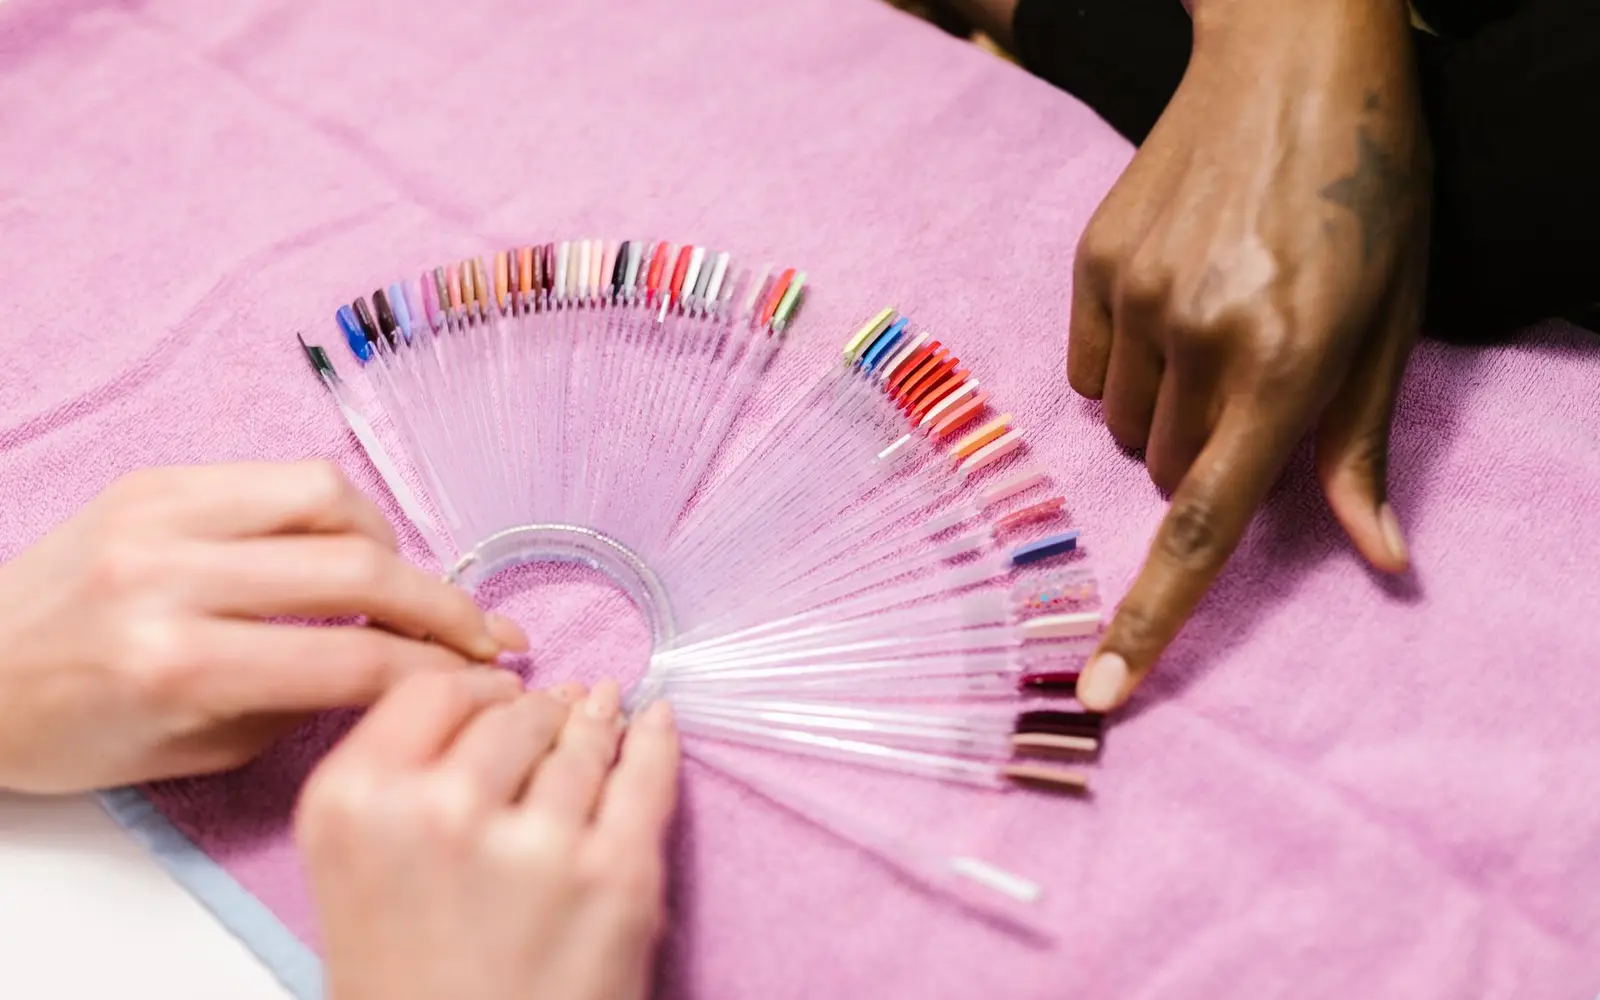
Most technicians know the scene. The client asks for nudes, gets a ring of 200 painted tips, narrows it to four, changes her mind and asks you to paint one nail so she can see. A quarter of an hour is gone before the service starts.
Do the math: if choosing takes 15 minutes and you do eight manicures a day, that is two hours of chair time daily spent deciding, not painting. Clients enjoy choosing, so aim for a shorter decision, not none. The slow part is usually one of these:
- Unsorted options: every shade on one ring, in no order.
- Shades you no longer have: the bottle ran out last month.
- Names that mean nothing: a sticker number tells a client nothing.
- No way to see it on her hand: a tip on a stick is not her skin tone.
A well-organized digital chart fixes the first three, and a try-on helps with the fourth.
Physical swatches vs a digital color chart: keep both
A digital chart does not replace your swatch ring. Physical tips show true color and texture under salon light, and the client can hold one against her skin. A digital chart is searchable by your team, always current, and clients connected to your salon can browse it before the appointment.
The rule: the digital chart narrows the choice to two or three shades, and the physical tip confirms the final one. Keep them in sync: the same color numbers on the tip sticks as in the chart, and when a shade leaves the catalog, its tip leaves the ring.
How to structure a nail polish color chart for salons
Decide the structure before you photograph anything. Four fields cover what a team needs:
- Brand: the line you buy, and the first filter when a client asks for "the gel you used last time".
- Collection (optional): a seasonal or themed set released together.
- Color number: the manufacturer's code, which is what you reorder by.
- Finish: cream, gel, matte, glitter, shimmer, pearl, chrome.
Keep the finish list short and fixed. "Cream", "creme" and "creamy" split your search results three ways.
In the CutieCure Salon Catalog, each shade has a brand, optional collection, color number, name, finish, category, optional price, description, image and a Featured flag. Search covers name, brand, collection, number and finish, and a brand filter narrows the list to one line. Put texture in the finish field, since search reads finish, not category.
Photograph shades on a nail tip, then bulk add a whole brand
A bottle photo is fastest and least useful: polish often looks different in the bottle than dried on a nail, and glass, label and reflections get in the way. A painted tip shows color and finish as the client will wear them. It also matters for try-ons, because CutieCure sends the shade's image as the design reference.
A repeatable photo setup
- One spot, near a window or under one soft lamp, never harsh overhead light.
- The same neutral background every time, such as a white or light grey card.
- One shade per photo, painted the way you work, filling the frame, no filters.
- A whole collection per session, so the light matches.
Bulk add instead of one by one
Bulk Add lets you pick a brand, optionally a collection, and upload many images at once. Each file name becomes the shade name (editable before saving), so rename files to client-facing names first, then add numbers and finishes per shade.
What clients see: photo and name, featured shades first
In CutieCure Book, clients see your catalog as a grid of photos with names. Brand, number, finish and category stay in the dashboard, so the name is the only text clients read. Name shades the way clients say them:
- Describe the color: "Milky pink", "Deep cherry", "Warm nude".
- Keep a manufacturer's name only if clients already ask for the shade by that name.
- Want the number visible? Add it to the name, as the number field is not shown in the app.
Clients can also heart shades as favorites, a ready shortlist to show you at the station.
Use Featured on purpose
Featured shades are listed first. Treat them as your shop window (new arrivals, this season's collection), keep the set short and refresh it monthly. New collections also make good feed content, see Instagram content from customer try-ons.
Retire old shades without deleting them
A chart full of shades you cannot deliver is worse than a short one. For discontinued or out-of-stock shades, use Deactivate, not delete. Inactive shades disappear for clients but keep their record, so a seasonal collection or a restocked shade can come back. Keep delete for mistakes and duplicates.
A weekly habit: whoever checks stock also checks the catalog. Not reordering: deactivate it and pull the tip. Back in stock: activate it.
Let clients try a color on their own hand
Seeing the color on her own hand shortens the decision most. In CutieCure Book, a client taps a shade, adds a photo of her hand from the camera or gallery and gets a preview of that shade on her nails, at home or in your waiting area.
Once she chooses, write the brand and number in her client notes, see the nail client consultation form. The try-on in the website widget is separate and does not use this catalog.
Where to show the QR, and why printed codes need renewing every 30 days
Clients connect to your salon in CutieCure Book by scanning your Customer QR. Show it at reception, at each station and in the waiting area. Customer view shows it full screen, ideal for a tablet at reception, and Download saves it for printing.
Each code is valid for 30 days. On expiry, or when you tap Renew QR code, a new code replaces it and the old one stops working. Connected clients are not affected, but a printed code stops connecting new ones, so note the "valid until" date and reprint on renewal.
Keep the QR in the salon, not on social media: each scan resets that client's AI uses to your limit, and those uses draw on your salon's credits. Online, share your booking link instead.
Set a fair AI limit per client and watch usage
On the Customer QR page you set AI uses per customer, from 1 to 50, with 3 as the default. Each try-on uses one of them and draws on your salon's AI credits. The same limit applies to every client who scans.
- Start with the default. Three tries are enough to compare a shortlist.
- Raise it if you do a lot of bridal or event sets, where a client may want to test more options.
- Lower it if the code sits where many people scan it who are unlikely to book.
The Credits page shows total AI usage and usage by customer, as counts, not photos or results. Check it monthly and adjust the limit if needed. For other monthly numbers, see nail salon KPIs.
A one-afternoon setup plan
- 1Gather the bottles you actually stock.
- 2Write your finish list and naming rule on one page.
- 3Paint and photograph one brand in a single session.
- 4Rename files to client-facing names and upload them with Bulk Add.
- 5Add numbers and finishes, and mark a few shades Featured.
- 6Deactivate anything out of stock.
- 7Set the AI limit and open Customer view at reception, or print the code and note the renewal date.
Repeat steps 3 to 5 for each brand in a quiet hour. Start with a free account, or see how the dashboard and the Book app work together in the demo.
Frequently asked questions
Do clients see the brand and color number in the app?
No. CutieCure Book shows clients each shade's photo and name. If you want a number to be visible, include it in the name.
Should I delete discontinued shades?
Deactivate them instead. They disappear for clients but keep their record, so you can bring them back later.
How accurate is the try-on color?
Treat it as a preview. Screens and light change how colors look, so confirm the final choice with the physical tip before painting.
Does the website widget use my polish catalog?
No. The catalog try-on lives in the CutieCure Book app, for clients who connect through your salon QR. The website widget has its own try-on.
Put this into practice with CutieCure Salon
Online booking link, website widget, packages, customer groups, campaign codes and team performance in one dashboard, plus AI try-on for your clients.